Category Archives

studio

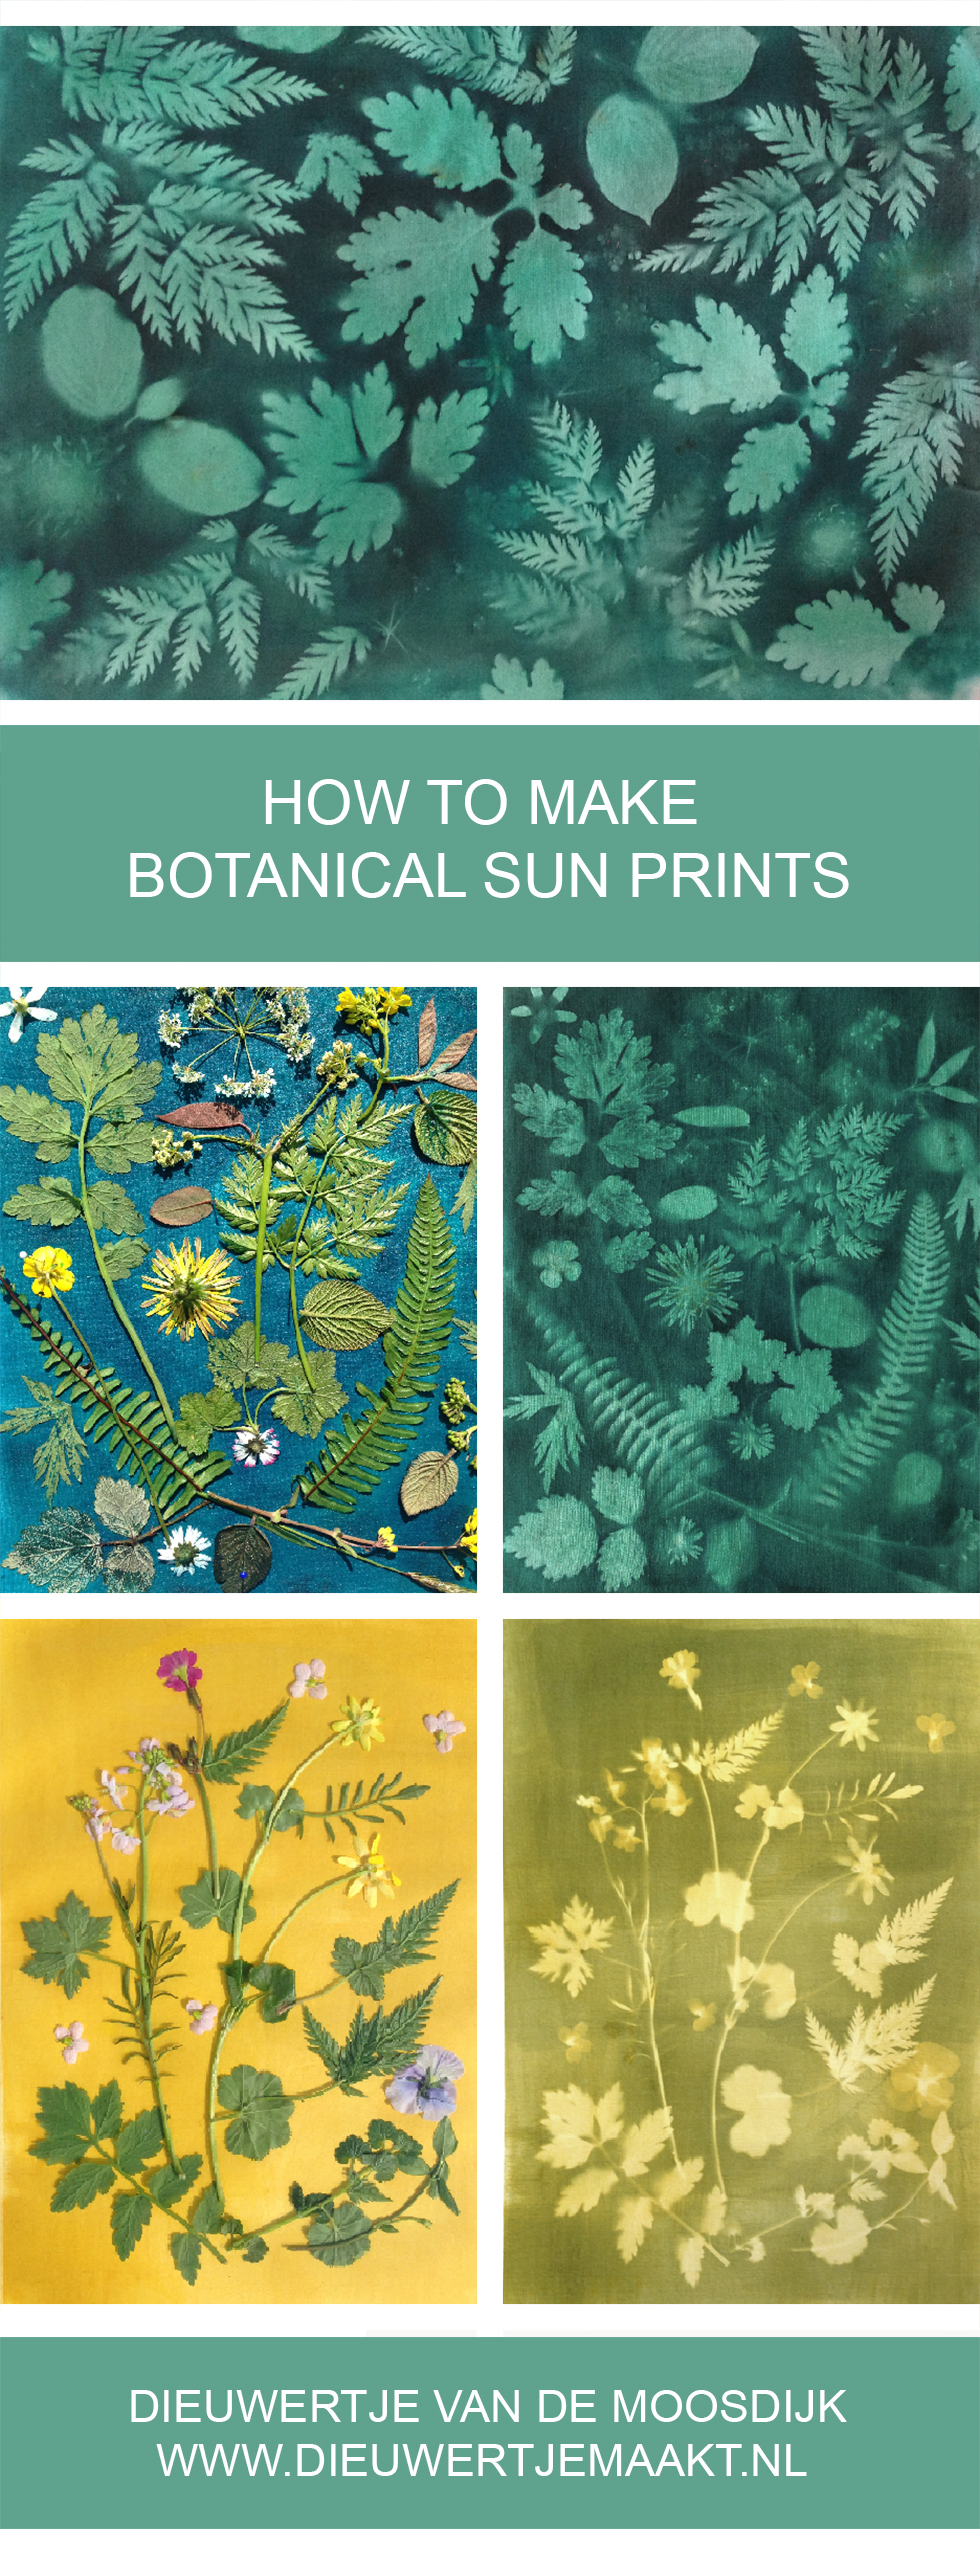
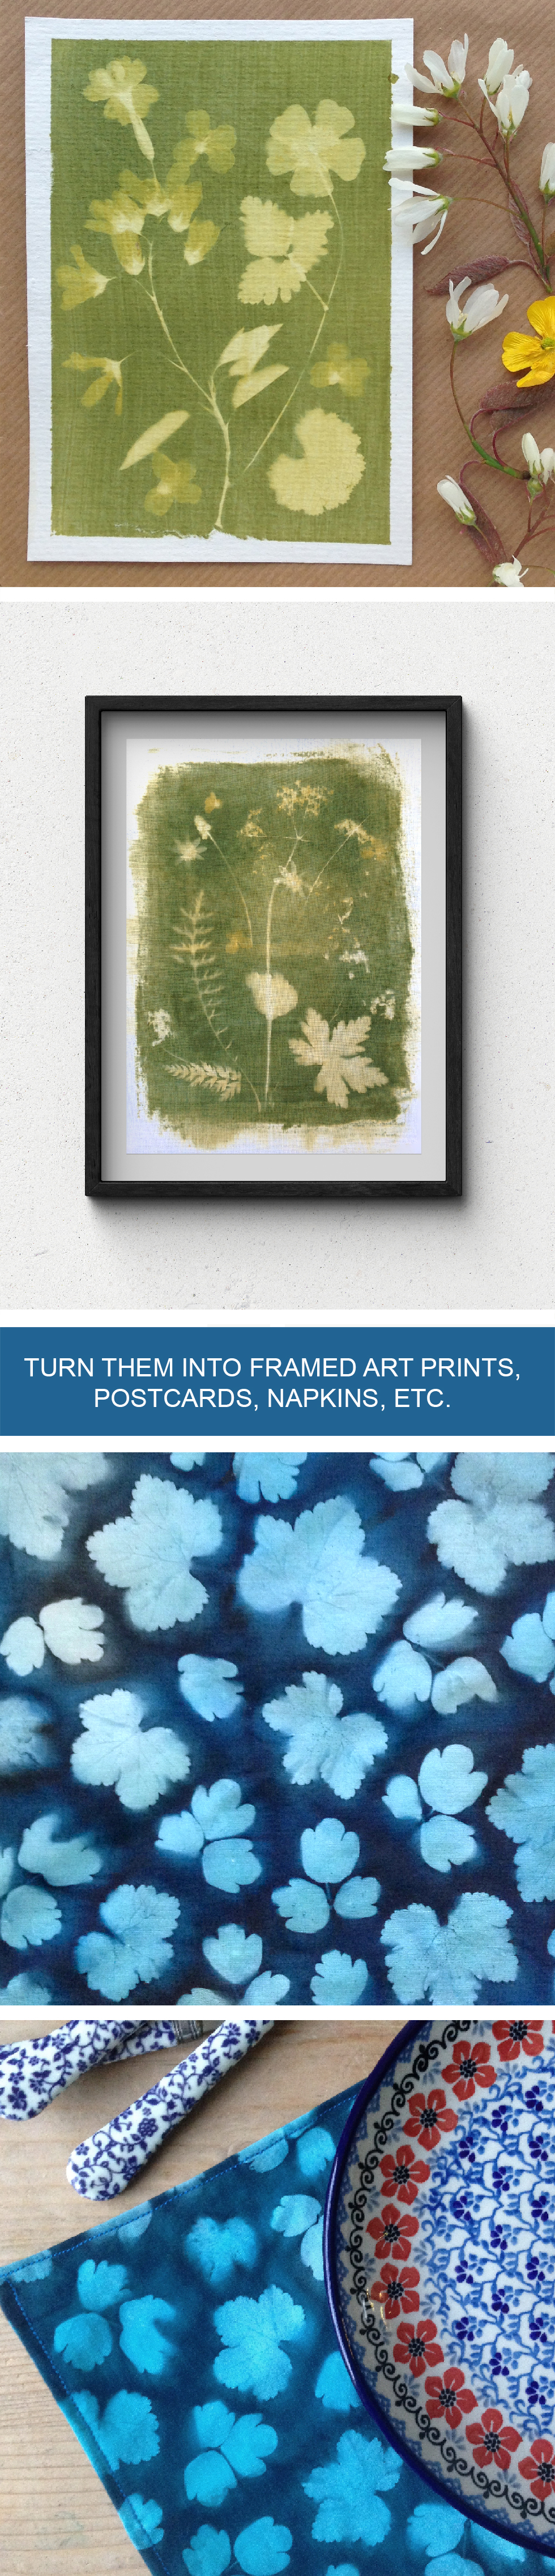
DIY botanische sunprints

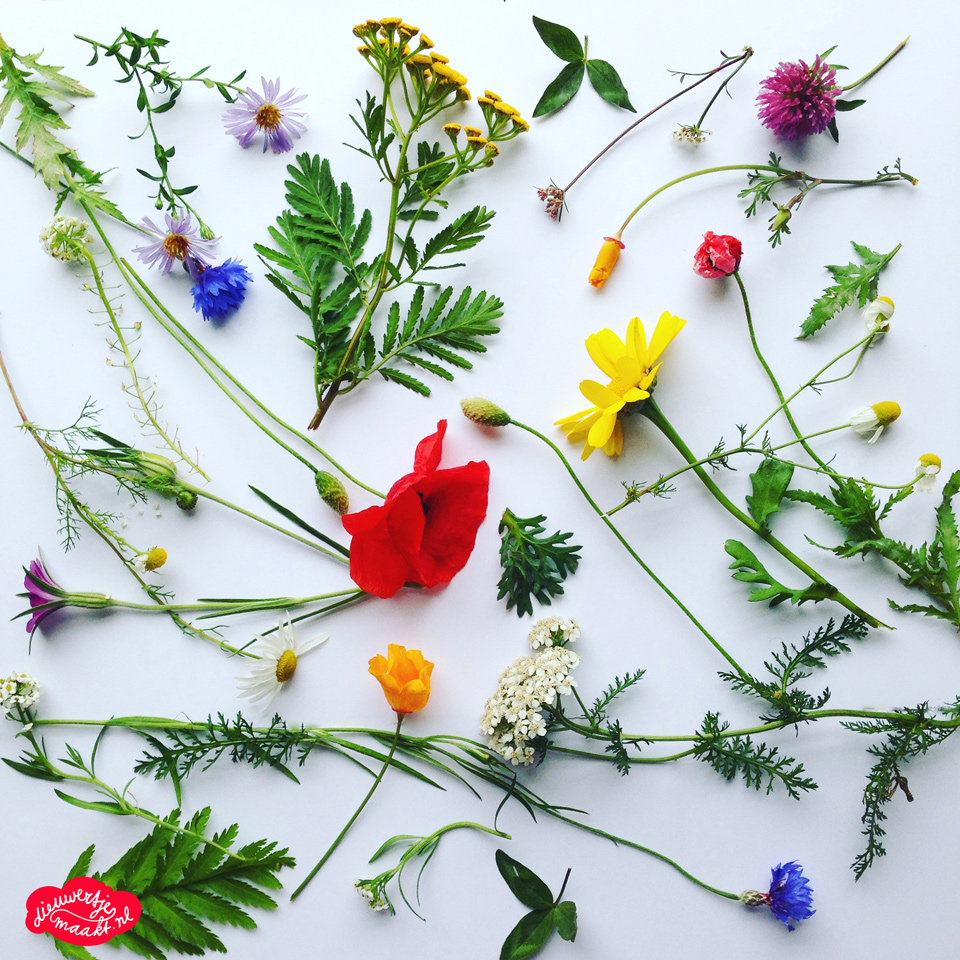
On the lovely Dutch website Stylink I’m sharing my tips and tricks on making botanical sun prints. You can read it over here, it’s a DIY in Dutch. Would you like to experiment with making sun prints too? Read my DIY in English over here.

Facebooktwitterpinterestlinkedinmail

DIY PORTABLE FLOWER PRESS

If you love long walks, like I do, and always encounter beautiful leaves and flowers on your way, you could bring a portable flower press. I never bring my wooden press – far too heavy – and made this light weight one. Just cut three pieces of card board to the desired size (e.g. 15 x 15 cm), cut six pieces of tissue paper and layer them until you have a nice little bundle. Perfect fit for a postage rubber band, or for four small rubber bands. Easy does it!

HOW TO MAKE A FLOWER PRESS


Facebooktwitterpinterestlinkedinmail

Tutorial sun prints

tutorial sun print

After ten days of sun printing here’s a few of my tips and tricks for you to make botanical sun prints at home. This is what you’ll need:

  • sun printing paint like Solarfast, Dye-na-Flow or Setacolor transparant paint
  • pieces of fabric (cotton, silk) and/or thick watercolor paper (300 grams)
  • plastic table cloth or cut open garbage bag, gloves, a sponge brush
  • optional: painters tape, pins and a piece of glass big enough to cover your paper sheets
  • a sunny day (12-3 ‘o clock in the afternoon is perfect)

Working on fabric

  1. Set up your workplace outside in a completely sunny spot: tape plastic over a table and make sure you somehow block the wind on your table. Cut pieces of white cotton or silk to the desired size. I used an old cotton sheet to run tests. You could use a big (clean!) oven tray to work in, as it blocks the wind a little. Put some plastic in it if you like.
  2. Gather pretty leaves and flowers. You’ll use these to make silhouettes. Soft leaves work best, I find, because they tend to stick to the wet fabric and that is what you want to make crisp shapes. Vary the leaves in shape and size to make an interesting composition. As you have to work rather fast, you can first lay out the leaves on a piece of paper to form a pattern you like, and then put them on the painted fabric. My favorite leaves for sun printing are cow parsley, aquilega, red berry, ferns and geranium. You can use pins to keep your shapes in place but they will cause little holes in your fabric…
  3. Wet the piece of fabric and wring it out. Spread it out on the plastic/table. Put on your gloves. Spread a little paint on your (sponge) brush and paint the fabric with it. It all depends on what colors you like, but you can mix the various colors of the paint, but don’t water them down too much. The stronger the color, the better the imprint shows. Work quickly: the fabric has to remain wet when you put the flowers and leaves on them.
  4. Expose it to the sun. Between 12-3 ‘o clock in the afternoon the sun is perfect. When the fabric is completely dry, the print is done. Take it inside, take off the leaves and flowers and iron it at the back side to fix the paint.
  5. Jacquard, the producer of the mentioned paint, has some clear step by step tutorials on how to use their products. Do check it out over here.

Working on paper

  1. Set up your workplace outside in a completely sunny spot. Make sure you somehow block the wind on your table.
  2. Gather pretty leaves and flowers. You’ll use these to make silhouettes. Soft leaves work best, I find, because they tend to stay flat and that is what you want to make crisp shapes. I also used pressed flowers a lot and used a piece of glass (4mm thick) to weigh them down on the paper. Vary in shape and size to make an interesting composition. As you have to work rather fast, you can first lay out the leaves on a piece of paper to form a pattern you like, then paint the paper and lay out your composition on the painted paper. My favorite ones for sun printing are cow parsley, buttercup and other flat flowers, aquilega and geranium.
  3. I prepare these prints inside. Underneath my paper I use something flat like a piece of board, wooden plank or flat tray covered with plastic. For some prints I used painters tape to stick it to the wooden plank, but it can be difficult to loosen the paper afterwards without making scratches on your paper. The only reason to use it is to get a sharp white border.
  4. Put on your gloves. Spread an even layer of paint on the piece of paper with a sponge brush or flat brush. You will notice some of the strokes, so make sure to test it out first. Put your leaves and flowers down on the wet paper and once satisfied with your composition put a piece of glass on top. This avoids that your flowers get blown away. Make sure not to move the construction anymore (!) and take it outside.
  5. Expose it to the sun. Between 12-3 ‘o clock in the afternoon the sun is perfect. You’ll see the print change colour quickly! The print is done after 10-40 minutes, depending on the strength of the sun. Take it inside, take off the leaves and flowers and wash it in warm water (a running tab) for a few minutes. When the water is clear, your print is ready. Take off the painters tape if you have used that, but be very careful not to ruin your edges.
  6. Jacquard, the producer of the mentioned dye, has some clear step by step tutorials on how to use their products. Do check it out over here.

sun print PRODUCTS

Facebooktwitterpinterestlinkedinmail

Chocolate wrapper design

Any excuse to do something with chocolate is a good one, I find. Here‘s how to make your own chocolate wrapper design. Don’t eat the chocolate straight away, but give it as a present to your mother, or someone dear.

Facebooktwitterpinterestlinkedinmail
floral bedding design by dieuwertje van de moosdijk

November

While the remaining flowers in my garden can be counted on two hands, there are many May flowers in bloom in my designs. Read about it here

Facebooktwitterpinterestlinkedinmail