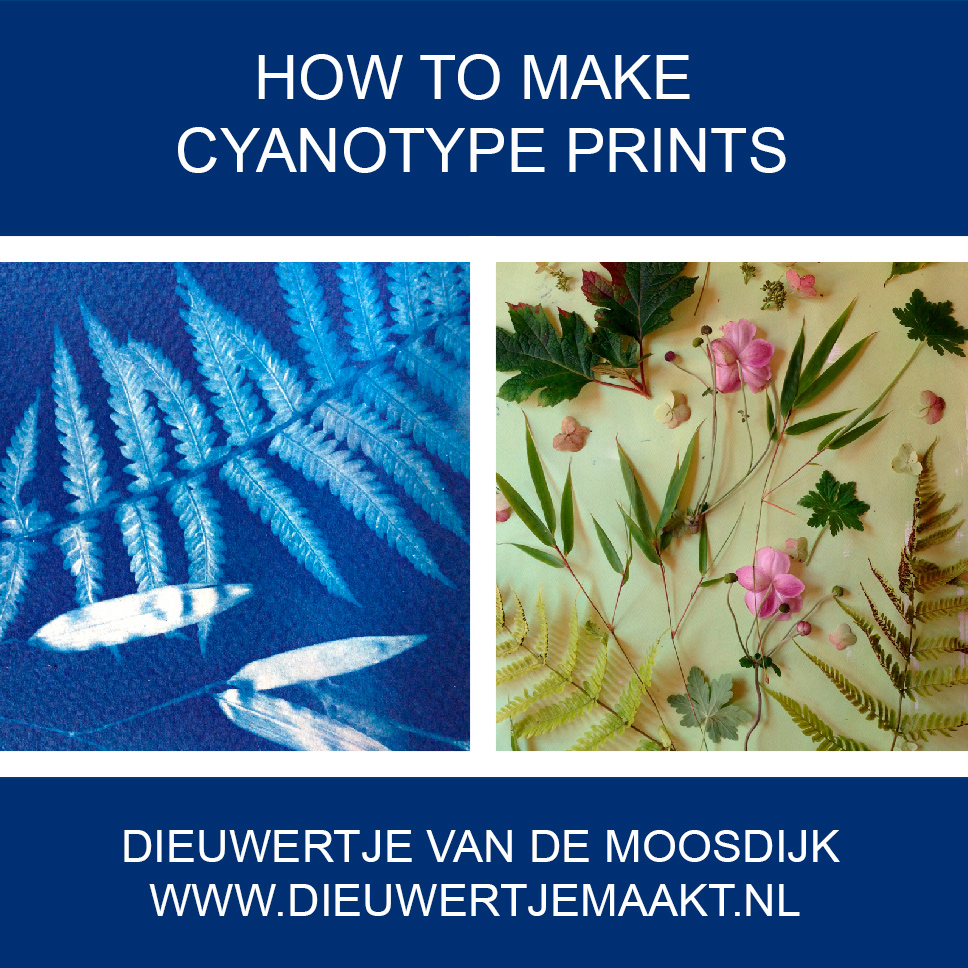
DIY: cyanotype
Perfect for a summer day: making your own blueprints. No need for a darkroom, all you need is some chemicals and sunlight.
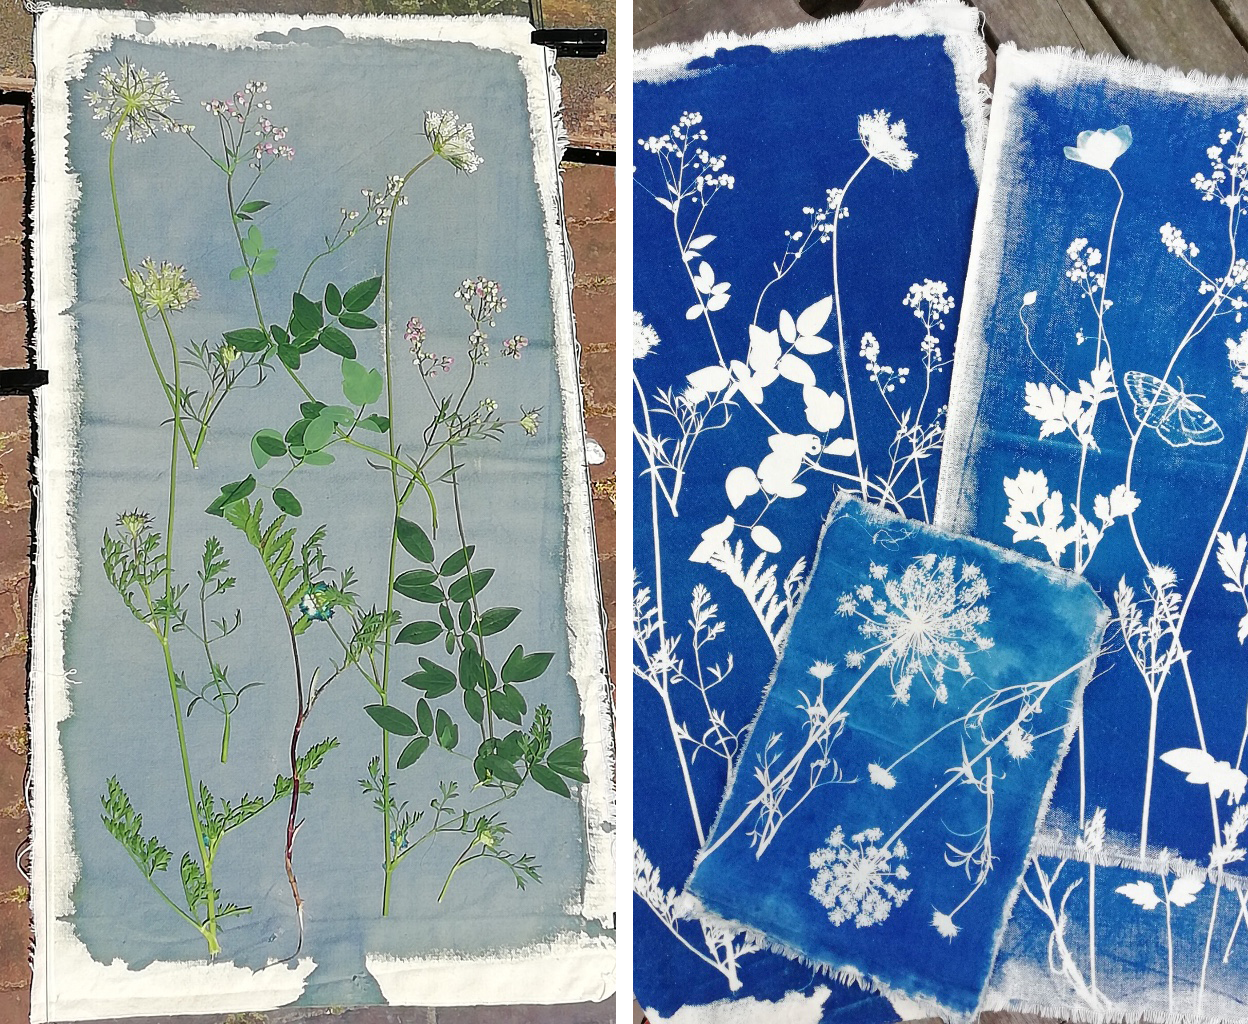
Cyanotype prints can be made at home, with a little patience. The basic idea is to make paper or fabric sensitive to UV-light. When the sun shines on the treated paper, the magic starts. By developing the print in water the typical cyanblue color is created. On spots where you’ve put plants, flowers or other silhouettes, the paper remains white.
This is what you’ll need:
The cyanotype is made up of two simple solutions. Each is mixed with water separately and then blended together in equal parts.
- solution I: 10 g Potassium ferricyanide + 100 ml water
- solution II: 25 g Ferric ammonium citrate (green) + 100 ml water
- 2 brown plastic bottles with a plastic screw lid (for the two solutions)
- heavy watercolour paper (300 grams) or fabric (cotton, linen, silk… anything natural)
- sponge brush or roller brush
- plastic plate to put the liquid on
- 2 glass plates or a picture frame and some squeezers
- plastic and gloves to keep everything clean
- a dark room (bathroom with curtains closed will do)
- a sunny day (bewoon noon and 3 pm is perfect)!
Method
1. Put gloves on. Mix the two solutions and pour each of them in a plastic bottle. Mark the bottles with a I and II. In a dimly lit room you blend the two solutions in equal parts in a plastic container. As soon as you mix the two fluids, they are photosensitive. So don’t expose them to UV-light! Use plastic to cover your work spot. Using a brush, simply paint the chemicals onto the material. Paper, card, textiles can all be used to print on. Use the brush up and down, from left to right. Leave to dry in a dark place.
2. Collect pretty leaves, flowers or other objects to make silhouettes with. The flatter the objects, the better the imprint. Ferns and umbellifers are gorgeous to print with because of their delicate, fine shapes. Arrange your composition on a piece of paper first, if you like.
3. Ready to start? Collect the photosensitive paper, glass plates and squeezers. Put your silhouettes on the paper and sandwich it between the glass plates and squeezers. Bring it outside. As soon as you get into the light the process starts, so make sure your composition doesn’t change; every movement will show. The glass plate and squeezers will keep the silhouettes in place. Expose it to sunlight for 5 minutes, or more, depending on the time of day and year. Trial and error! You see the paper change directly from yellowish green to a darker grey green. The longer you leave it, the deeper the blue gets (overexposure).
4. Bring it in, take off the silhouettes and start rinsing it with water for a few minutes until the water is clear. What was yellow is now white, what was green, is now blue. Leave to dry on a clothesline.
Tips
You really need to experiment with blueprints to get the result you want. Keep it simple! Here are some tips to make it more easy:
1. Use a solid picture frame that lets you really press the paper and silhouettes together. If possible, use some extra board on the back to ensure maximal pressure.
2. Instead of silhouettes you can draw or print a black and white photo negative on a transparant sheet, and use that to make your print with.
3. Take a workshop or watch some videos online. I’m hosting masterclasses at the Textielmuseum in Tilburg right now and will organise some more soon. Let me know if you’d like to join.
4. Work on a rainy day or in the evening? Use a facial tanner and put the light right opposite your picture frame.
5. Working a fabric is a little harder, but follows the same process. Leave the fabric to dry for a night in a dark place and store it in a dark place until you use it.
Materials
Watercolour paper, sponge brush and squeezers can be bought at art stores. I ordered the chemicals and bottles at De Hekserij. There are complete cyanotype kits for sale over here at PAR. Their kit has everything you need to make 20 prints, including paper, chemicals and brush.
Have a look at my sun print tutorial