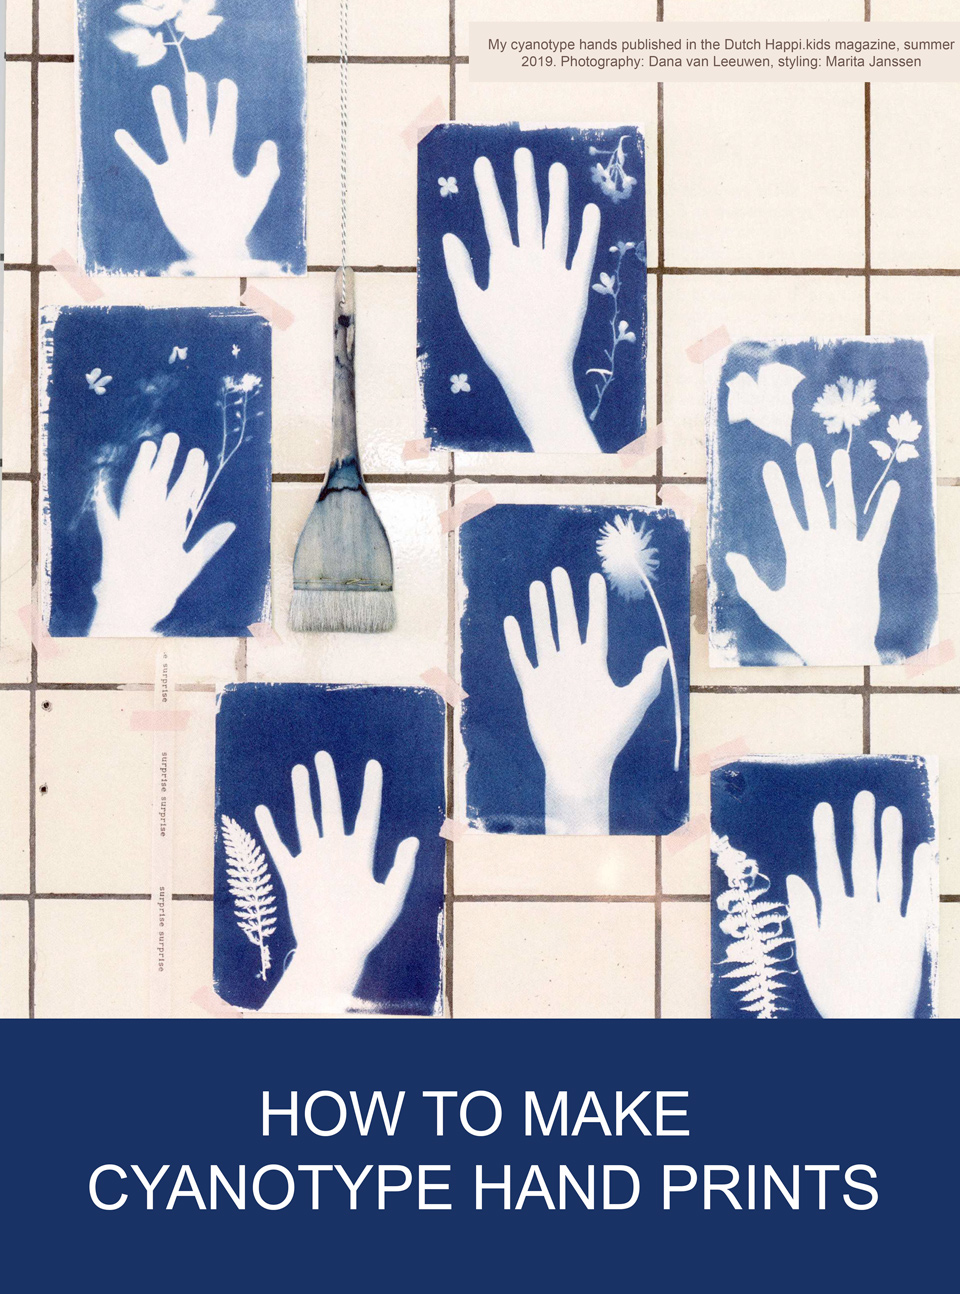
cyanotype tutorial hand print
Perfect for a summer day: making your own hand blueprints. No need for a darkroom, all you need is some chemicals and sunlight. And a little helper…
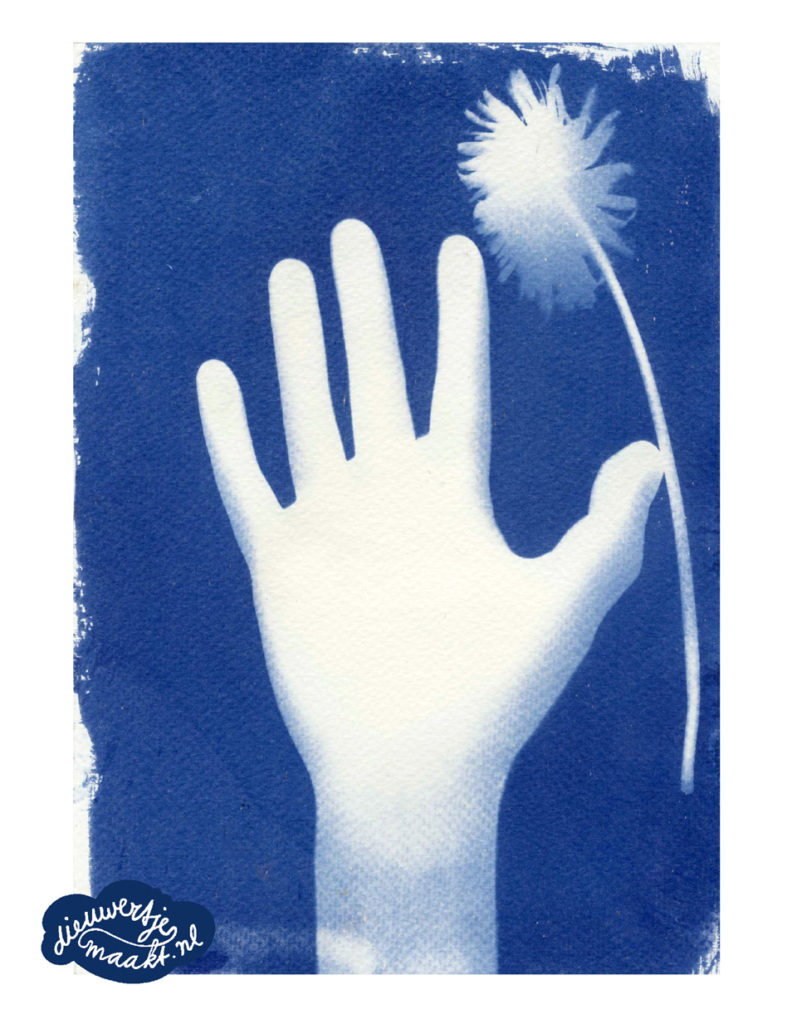
Cyanotype prints can be made at home, with a little patience. The basic idea is to make paper or fabric sensitive to UV-light. When the sun shines on the treated paper, the magic starts. By developing the print in water the typical cyanblue color is created. On spots where you’ve put hands, flowers or other silhouettes, the paper remains white.
YOU NEED:
- cyanotype fluids
- 300 grams watercolor paper
- sponge brush
- a shoebox
- plastic plate
- newspaper or plastic
- some flowers or leaves
- a child
- sunshine!
Need more explanation? See my other extensive tutorial to make cyanotype prints over here.
STEP 1
- cut paper size A5 or bigger
- take into dark room (e.g. bathroom)
- put paper on plastic or newspaper base
- mix 2 cyanotype liquids in equal parts in plastic cup or plate (see my other extensive tutorial for the use of cyanotype chemicals over here)
STEP 2
- use sponge brush to put it on paper, using even strokes from left to right, up and down
- put paper to dry in shoebox for 1 hour
- make sure no light gets in otherwise the print starts developing
STEP 3
- put paper in shoebox and go outside
- a sunny afternoon around midday is perfect
- let the child collect leaves or flowers to put on image (or none at all)
- go sit in a sunny spot with little wind
- take out paper from shoebox
- put it + flowers + hand on top of shoebox
- sit perfectly still for 3 minutes, facing the sun;
STEP 4
- quickly take print indoors and rinse under
a running tap for a few minutes - let dry and put under books to flatten
Want to know more about cyanotype? Read my other tutorial over here