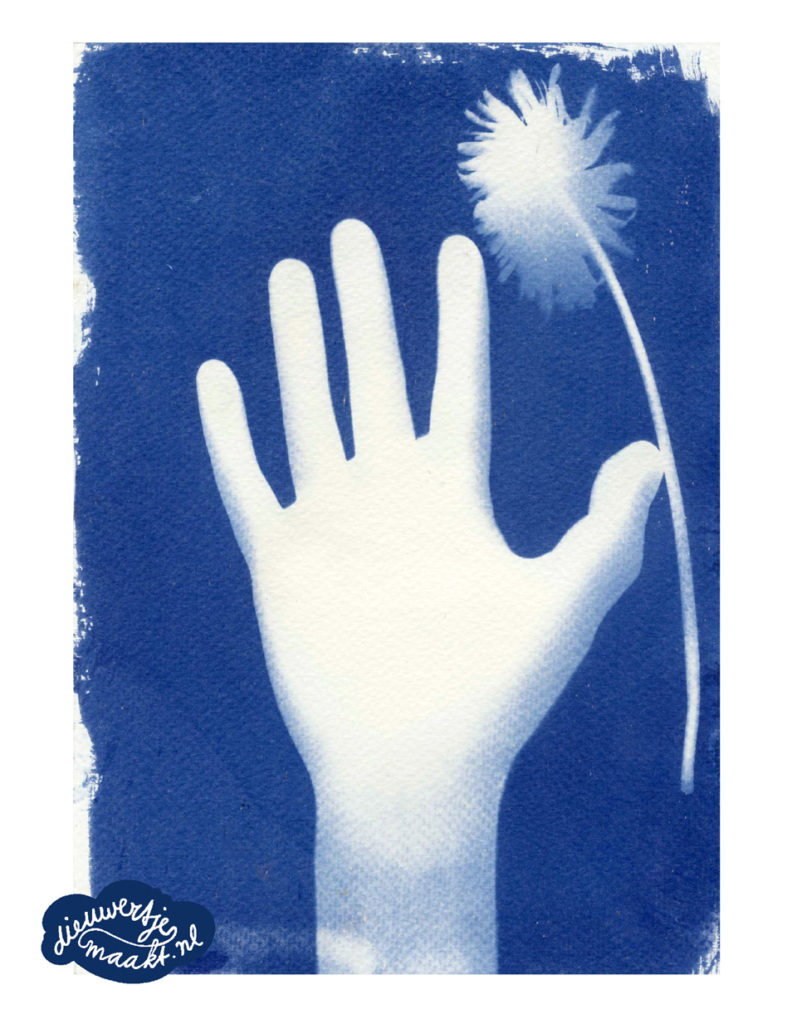
cyanotype tutorial hand print

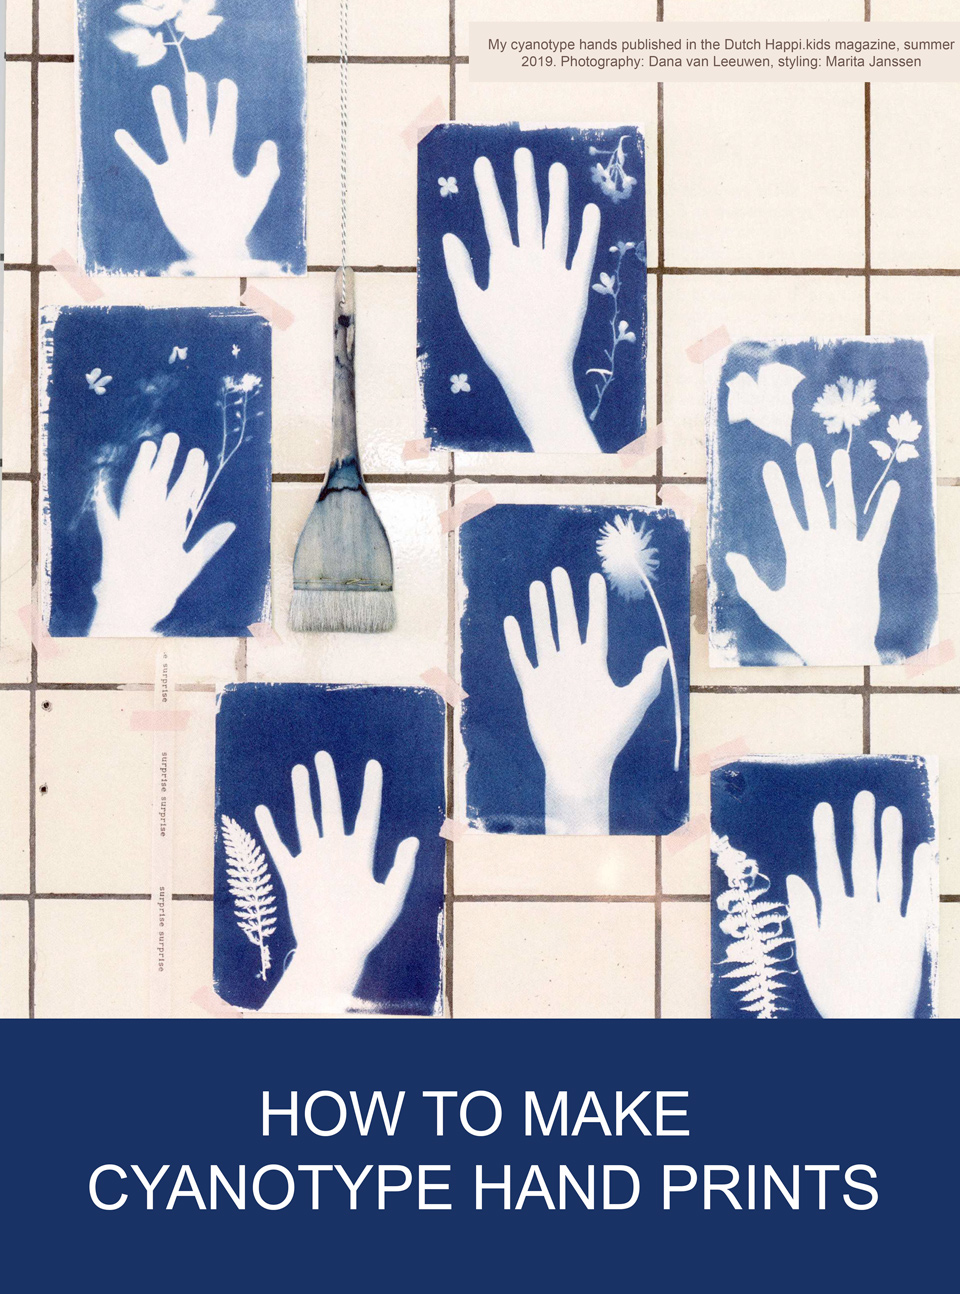
Perfect for a summer day: making your own hand blueprints. No need for a darkroom, all you need is some chemicals and sunlight. And a little helper…

Cyanotype prints can be made at home, with a little patience. The basic idea is to make paper or fabric sensitive to UV-light. When the sun shines on the treated paper, the magic starts. By developing the print in water the typical cyanblue color is created. On spots where you’ve put hands, flowers or other silhouettes, the paper remains white.

YOU NEED:

  • cyanotype fluids
  • 300 grams watercolor paper
  • sponge brush
  • a shoebox
  • plastic plate
  • newspaper or plastic
  • some flowers or leaves
  • a child
  • sunshine!

Need more explanation? See my other extensive tutorial to make cyanotype prints over here.

STEP 1

  • cut paper size A5 or bigger
  • take into dark room (e.g. bathroom)
  • put paper on plastic or newspaper base
  • mix 2 cyanotype liquids in equal parts in plastic cup or plate (see my other extensive tutorial for the use of cyanotype chemicals over here)

STEP 2

  • use sponge brush to put it on paper, using even strokes from left to right, up and down
  • put paper to dry in shoebox for 1 hour
  • make sure no light gets in otherwise the print starts developing

STEP 3

  • put paper in shoebox and go outside
  • a sunny afternoon around midday is perfect
  • let the child collect leaves or flowers to put on image (or none at all)
  • go sit in a sunny spot with little wind
  • take out paper from shoebox
  • put it + flowers + hand on top of shoebox
  • sit perfectly still for 3 minutes, facing the sun;

STEP 4

  • quickly take print indoors and rinse under
    a running tap for a few minutes
  • let dry and put under books to flatten

Want to know more about cyanotype? Read my other tutorial over here
Facebooktwitterpinterestlinkedinmail

Out now: Flora Japonica

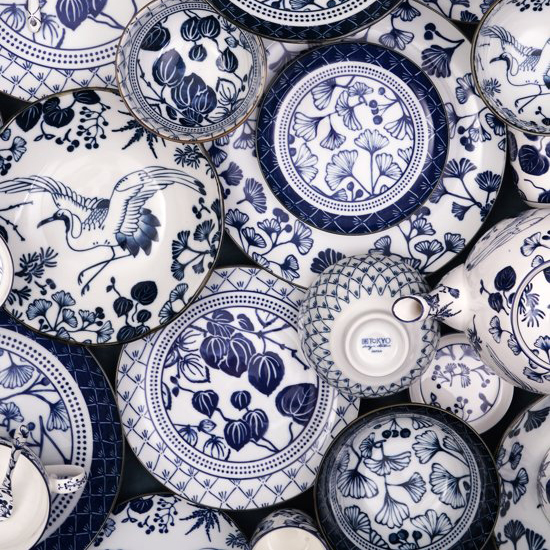
Tokyo Design Studio has introduced Flora Japonica, the porcelain crockery I designed for them. This porcelain collection is inspired by Dutch botanists bringing back new plant species from Japan, centuries ago. It is all about exploring and admiring Japanese flora. National treasures like the fine-leaved maple, the heart-shaped katsura, pretty white pine trees and one of the oldest trees on earth, the ginkgo biloba, have found a place in our collection. Amidst these wonderful trees you’ll find another Japanese phenomenon: the dancing cranes. Do you share my love for Japanese nature? 

Flora Japonica consists of porcelain plates, bowls, a teapot and cups in various sizes. Each product is made with love in Japan, dishwasher-proof and safe to use in a microwave. Buy online over here or go see the collection at De Bijenkorf in the Netherlands.

Facebooktwitterpinterestlinkedinmail

Flora Japonica

The past edition of Maison & Objet in Paris, Tokyo Design Studio introduced the Flora Japonica collection. It is based on my drawings of Japanese flora and dancing cranes. It will be in stores April 2019.
Facebooktwitterpinterestlinkedinmail

DIY: cyanotype

Perfect for a summer day: making your own blueprints. No need for a darkroom, all you need is some chemicals and sunlight. 

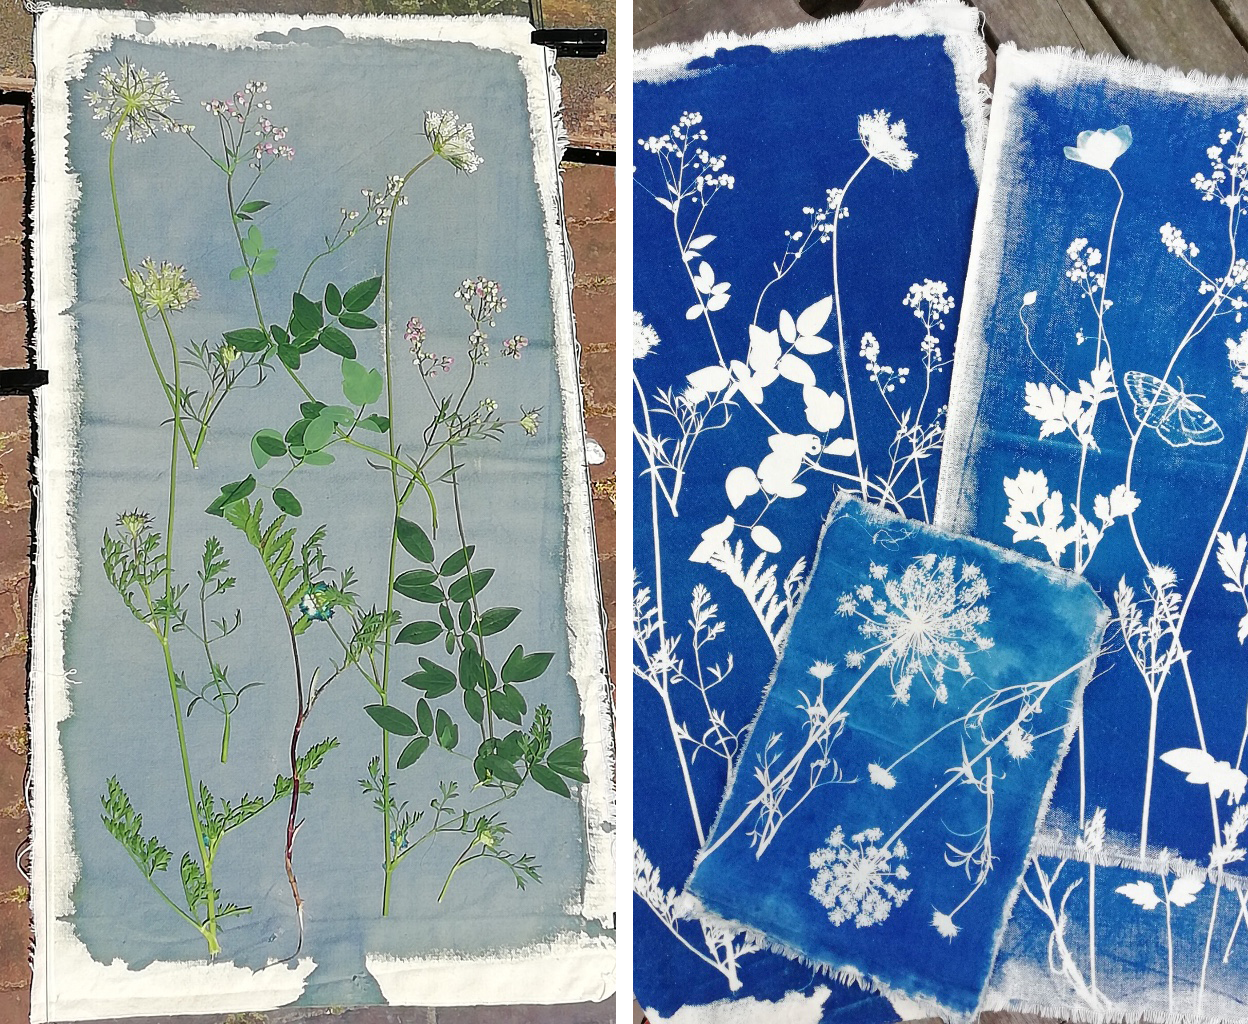
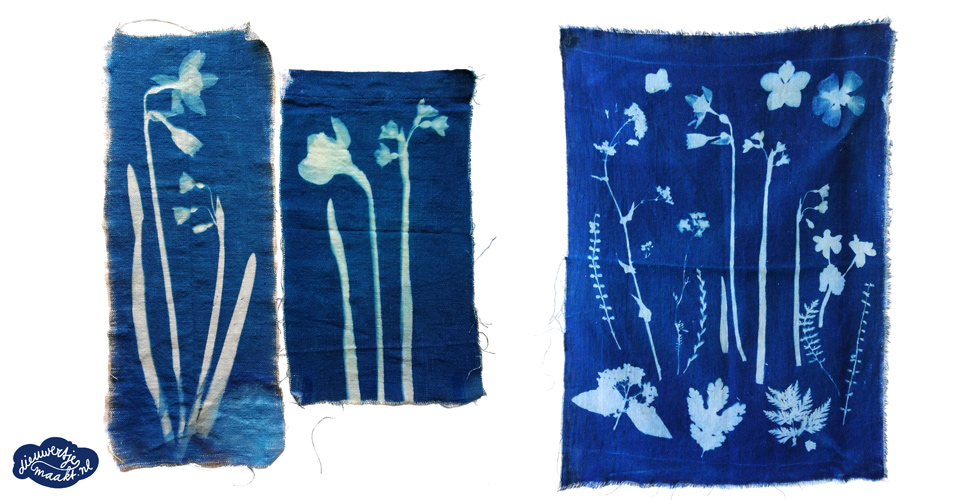
Cyanotype prints can be made at home, with a little patience. The basic idea is to make paper or fabric sensitive to UV-light. When the sun shines on the treated paper, the magic starts. By developing the print in water the typical cyanblue color is created. On spots where you’ve put plants, flowers or other silhouettes, the paper remains white.

This is what you’ll need:

The cyanotype is made up of two simple solutions. Each is mixed with water separately and then blended together in equal parts.

  • solution I: 10 g Potassium ferricyanide + 100 ml water
  • solution II: 25 g Ferric ammonium citrate (green) + 100 ml water
  • 2 brown plastic bottles with a plastic screw lid (for the two solutions)
  • heavy watercolour paper (300 grams) or fabric (cotton, linen, silk… anything natural)
  • sponge brush or roller brush
  • plastic plate to put the liquid on
  • 2 glass plates or a picture frame and some squeezers
  • plastic and gloves to keep everything clean
  • a dark room (bathroom with curtains closed will do)
  • a sunny day (bewoon noon and 3 pm is perfect)!

Method

1. Put gloves on. Mix the two solutions and pour each of them in a plastic bottle. Mark the bottles with a I and II. In a dimly lit room you blend the two solutions in equal parts in a plastic container. As soon as you mix the two fluids, they are photosensitive. So don’t expose them to UV-light! Use plastic to cover your work spot. Using a brush, simply paint the chemicals onto the material. Paper, card, textiles can all be used to print on. Use the brush up and down, from left to right. Leave to dry in a dark place.

2. Collect pretty leaves, flowers or other objects to make silhouettes with. The flatter the objects, the better the imprint. Ferns and umbellifers are gorgeous to print with because of their delicate, fine shapes. Arrange your composition on a piece of paper first, if you like.

3. Ready to start? Collect the photosensitive paper,  glass plates and squeezers. Put your silhouettes on the paper and sandwich it between the glass plates and squeezers. Bring it outside. As soon as you get into the light the process starts, so make sure your composition doesn’t change; every movement will show. The glass plate and squeezers will keep the silhouettes in place. Expose it to sunlight for 5 minutes, or more, depending on the time of day and year. Trial and error! You see the paper change directly from yellowish green to a darker grey green. The longer you leave it, the deeper the blue gets (overexposure).

4. Bring it in, take off the silhouettes and start rinsing it with water for a few minutes until the water is clear. What was yellow is now white, what was green, is now blue. Leave to dry on a clothesline.

Tips

You really need to experiment with blueprints to get the result you want. Keep it simple! Here are some tips to make it more easy:

1. Use a solid picture frame that lets you really press the paper and silhouettes together. If possible, use some extra board on the back to ensure maximal pressure.

2. Instead of silhouettes you can draw or print a black and white photo negative on a transparant sheet, and use that to make your print with.

3. Take a workshop or watch some videos online. I’m hosting masterclasses at the Textielmuseum in Tilburg right now and will organise some more soon. Let me know if you’d like to join.

4. Work on a rainy day or in the evening? Use a facial tanner and put the light right opposite your picture frame.

5. Working a fabric is a little harder, but follows the same process. Leave the fabric to dry for a night in a dark place and store it in a dark place until you use it.

Materials

Watercolour paper, sponge brush and squeezers can be bought at art stores. I ordered the chemicals and bottles at De Hekserij. There are complete cyanotype kits for sale over here at PAR. Their kit has everything you need to make 20 prints, including paper, chemicals and brush.

Have a look at my sun print tutorial

 Facebooktwitterpinterestlinkedinmail

Cyanotype masterclasses

Would you like to experience the magic of blueprint making? This summer I’ll be hosting cyanotype masterclasses at the Dutch Textielmuseum. We’ll be experimenting with building a good composition with (dried) plants and flowers. Of course you can also use other things as a silhouette, and work in a more abstract way if you like. Visiting the exhibition Simply Scandinavian you might feel inspired and do as Scandinavian designers do: play with light, nature, abstraction and simplicity. After experimenting with the technique on both paper and various sorts of textile, you’ll be applying your design on a beautiful silk scarf.  Come join me, it’s fun!Facebooktwitterpinterestlinkedinmail

Flora castle porcelain

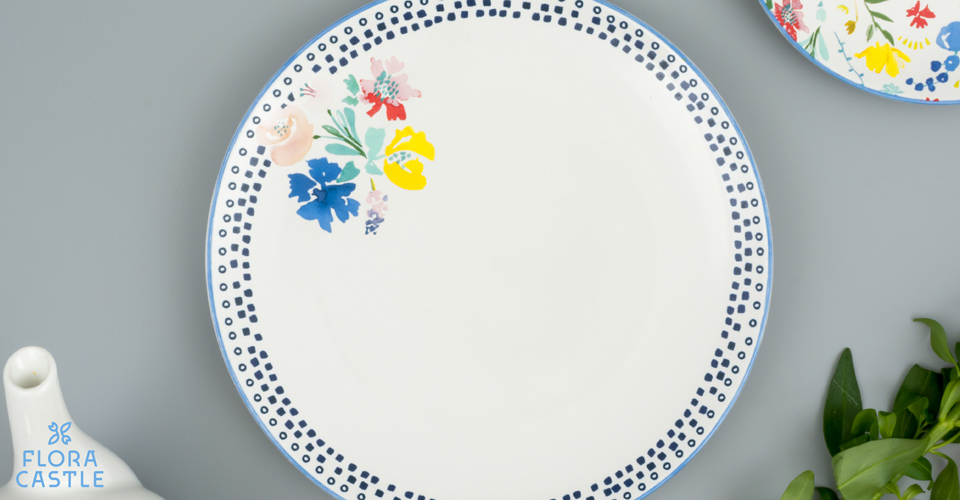
Beautiful porcelain & flowers: they make my heart beat faster. So if I can combine these two in one project: that’s perfect! For the new brand Flora Castle I was asked to design watercolour flowers for their various ceramic products. It has become a lovely mix of hand painted wild flowers and hand painted geometric motifs. Some designs feature a whole field of flowers, some just one big flower. And just like with a real field bouquet you can pick any kind of flower you like: they all go well together. Flora Castle has been created by the Dutch brand Bunzlau Castle, one of my clients. It offers a wide range of plates, bowls, teapots and kitchen textiles like tea towels, napkins and table runners. All is made (with a lot of love) in Portugal.Facebooktwitterpinterestlinkedinmail

photoshoot

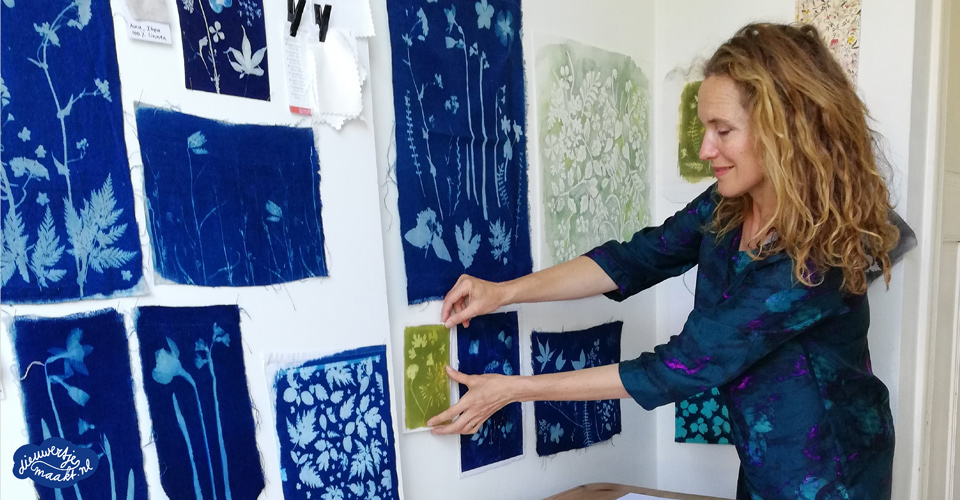
Today I’ve been putting some of my cyanotype and other sun prints out on the wall for a special photoshoot. More about that later this month. Of course I had to wear a matching Prussian blue dress (I wish I had designed it myself).Facebooktwitterpinterestlinkedinmail

The merry month of May

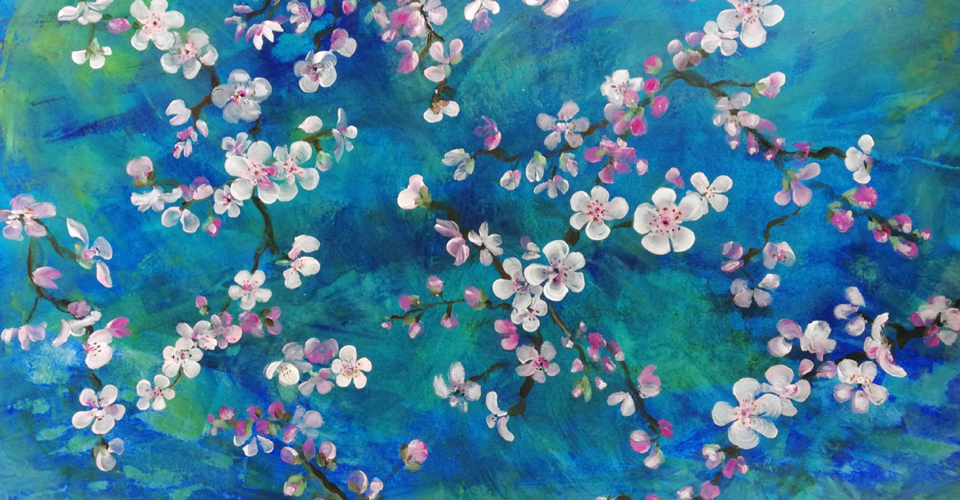
If you have a garden, or visit one regularly, you know that this is the month in which your garden changes the most. I start my days with a little inspection of my garden: to welcome newly grown flowers, check if there are any slugs eating my newly grown plants and smell the blossoming trees. I’ve been painting the blossom of cherry and peach trees. My first with acrylic paint, by the way. Here’s what I’ve been up to last month.Facebooktwitterpinterestlinkedinmail